How to Make a D3 Block
bl.ocks.org, run by Mike Bostock, is a viewer for code examples that are posted to Github gists. This post is a quick run down of how to create a block.
Where to start?
If you have written a working d3 example, you are already ahead of the game. However, let’s say you have never touched d3 in your life. One of the great things about blocks is that they offer you working code examples that you can use as a good starting point (be aware of the software license in the .block configuration file - more on this later in the post).
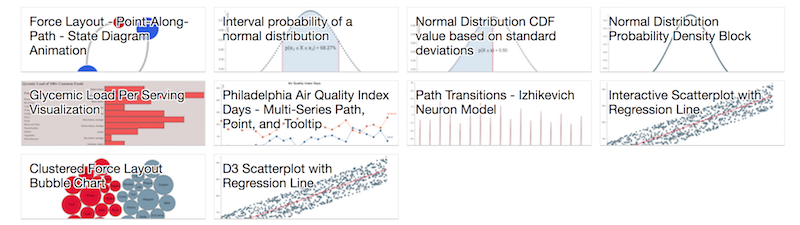
- Go to https://bl.ocks.org/ and find an example that suits your needs. If you know of a specific author you want to search append it to the the address above. For example, my blocks are all available at https://bl.ocks.org/ctufts
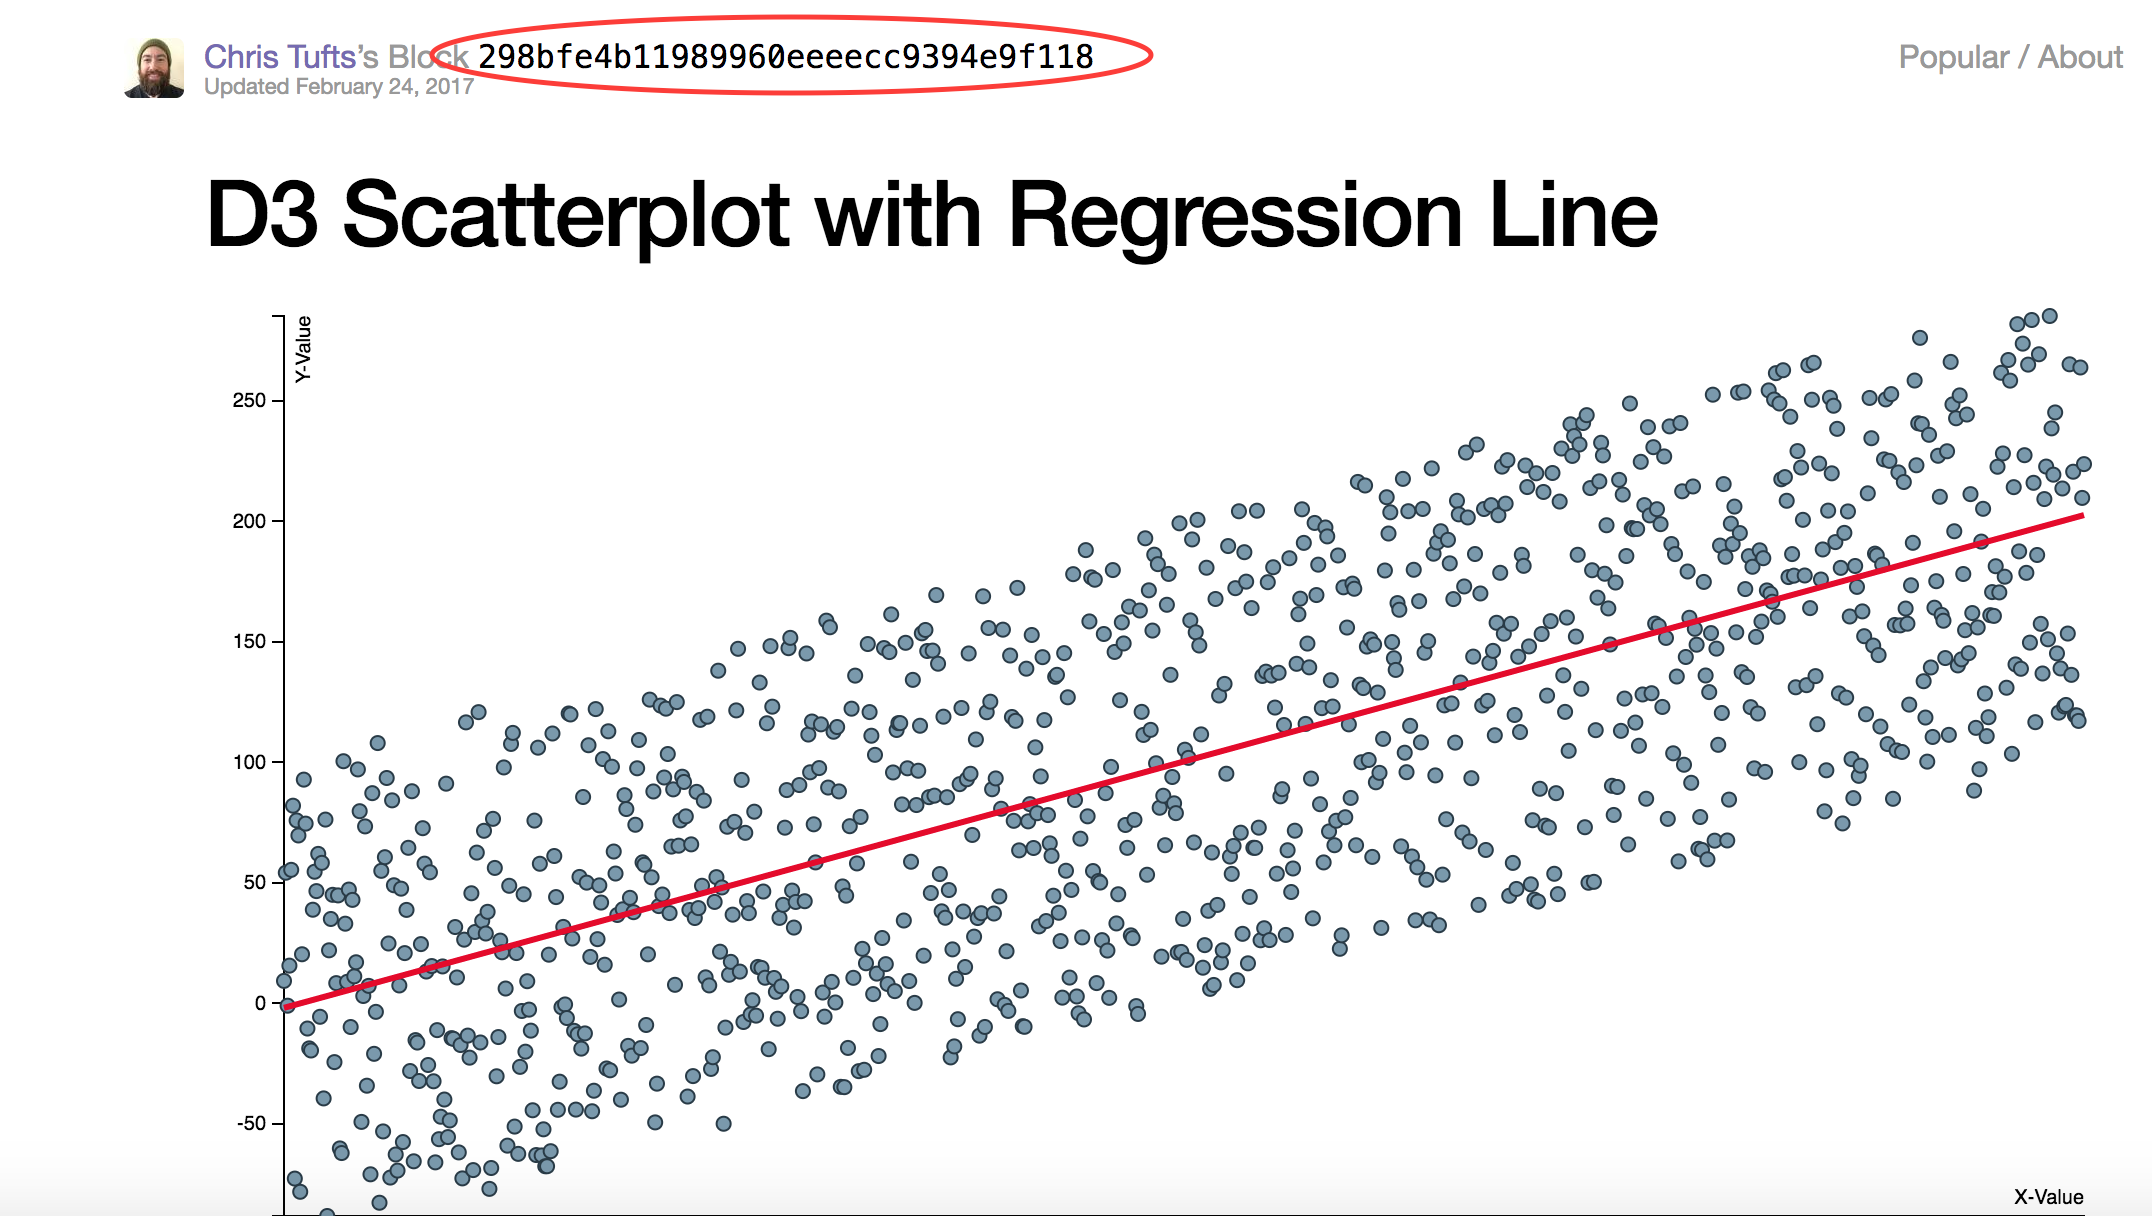
- Once you found an example, you will want to retrieve the code. To get to a more accessible version of the files replace ‘bl.ocks.org’ with ‘gist.github.com’. Example: I want to download the files used to create this block:https://bl.ocks.org/ctufts/298bfe4b11989960eeeecc9394e9f118
I go to : https://gist.github.com/ctufts/298bfe4b11989960eeeecc9394e9f118
NOTE: You can always click the link in the top of the block as well as shown below:
- Download the example and modify to fit your needs.
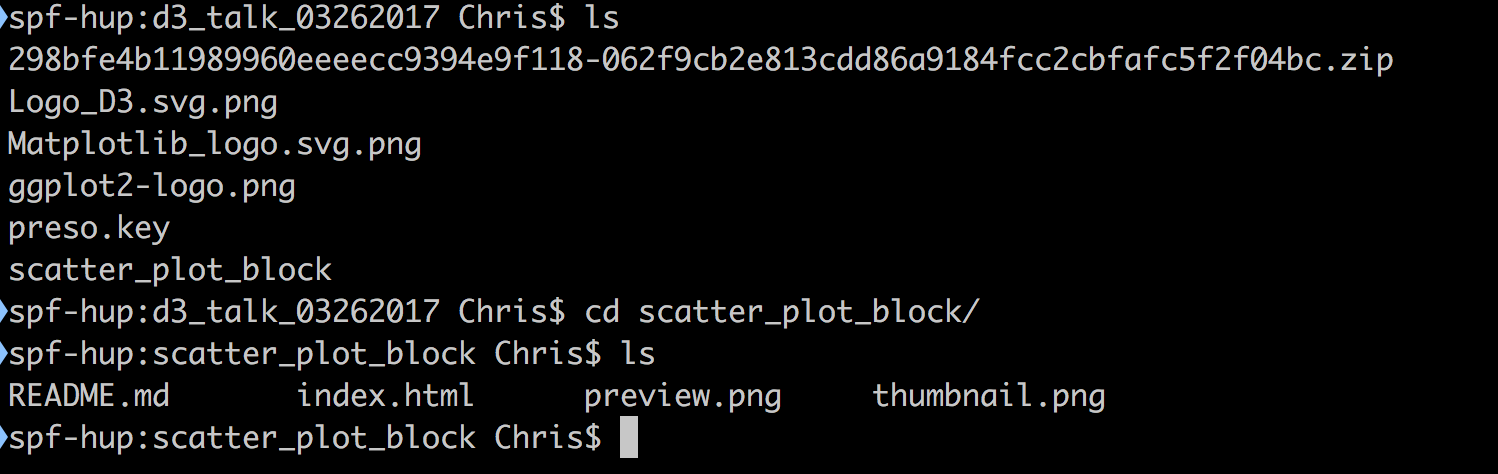
 I rename the directory (for my own sanity as gists are labeled with a long
string of characters) and then move into directory.
I rename the directory (for my own sanity as gists are labeled with a long
string of characters) and then move into directory.

- Run it locally. A simple way to do this is go into the directory of the gist you downloaded. Then run ‘python -m http.server 8000’ to run a server locally. Note: If you are running Python 3.x use the command specified. If you are running Python 2.x use ‘python -m SimpleHTTPServer 8000’ instead. If you have no idea if python is installed and/or need to find out the version type ‘python –version’. When you are done reviewing the visualization type ctrl-c to shutdown the server.

Code is Ready - What’s Next?
So I wrote my code and updated the README, so what now? If you forked an example from a pre-existing block you will already have a configuration file present. If not you will need to create a file named ‘.block’. The configuration file can contain 4 pieces of information:
- License - A supported license code for you code example.
- Height of iframe for your block - pixels. Default is 500px.
- Scrolling of iframe - yes or no, default is no.
- Border - do you want a border present for your iframe - yes or no. Default is yes.
After you have made the configuration file you are ready to create a new gist.
- Make a new gist on Github.

- Add in your scripts. You can drag and drop into the UI or copy paste your individual files.
Pictures
When you create a gist you can’t add image files (or so I have not found a simple way to do this yet). To get around this limitation do the following:
- Take a picture of your visualization.
- Resize the image and make two copies. One copy will be called ‘preview.png’ (or jpg) with a size of 960x500. The other copy will be called ‘thumbnail.png’ with a size of 230x120.
- Get the link to clone your gist.
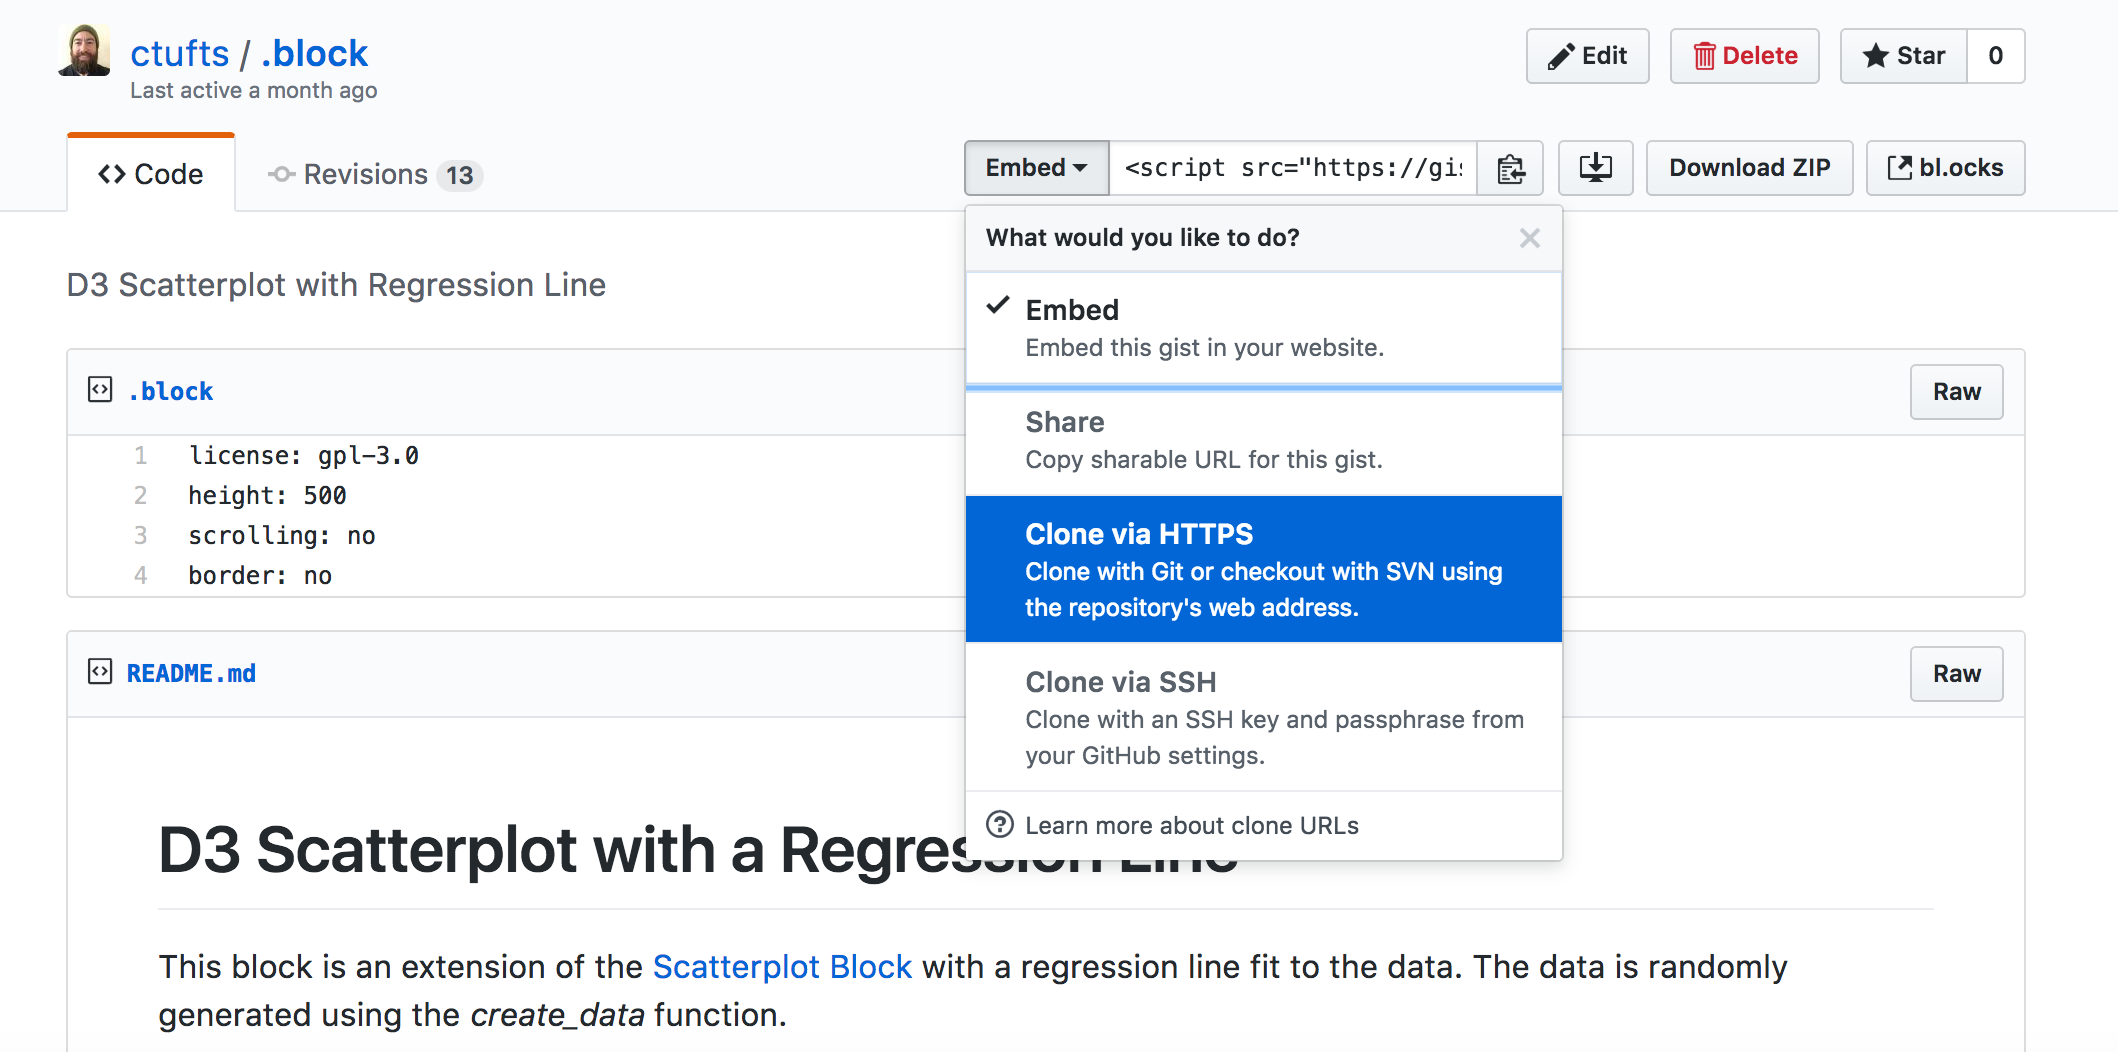 After copying the link address go to your terminal and type ‘git clone <copied link>’:

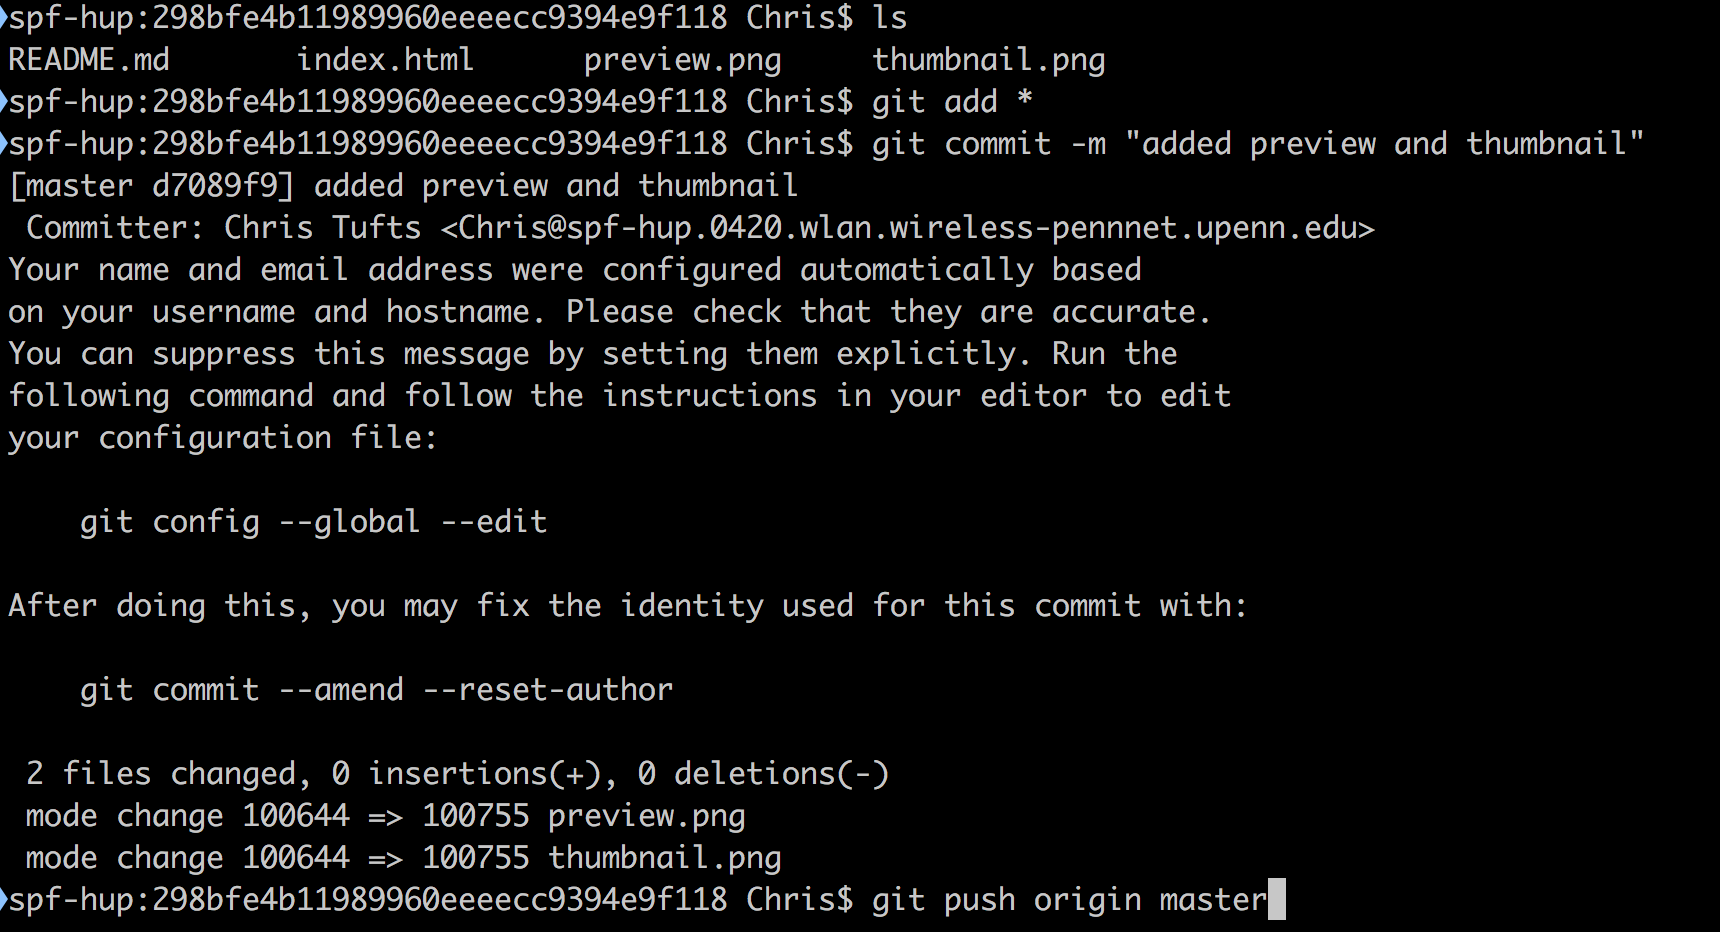
- Move your images into the cloned directory. The add, commit, and push the files to github.
Now you can go to ‘https://bl.ocks.org/<your github name>’ to view your gist. You should see a tile with your thumbnail image. Click on this and you will see all the contents of your gist along with your visualization.